How to upload, insert and change images, video & audio.
How to upload a new image
You can upload new assets, such as images, video, and audio files directly into the Activator for use in your slides.
Your options for specifying where the assets are saved may be streamlined by your organization. That is, not all save location options listed in this guide will be available to you. Please see your local guidelines for more information.
Step 1: There are 2 ways of adding assets via drag and drop in Activator. One is selecting any of the overview sections in the top menu bar first.
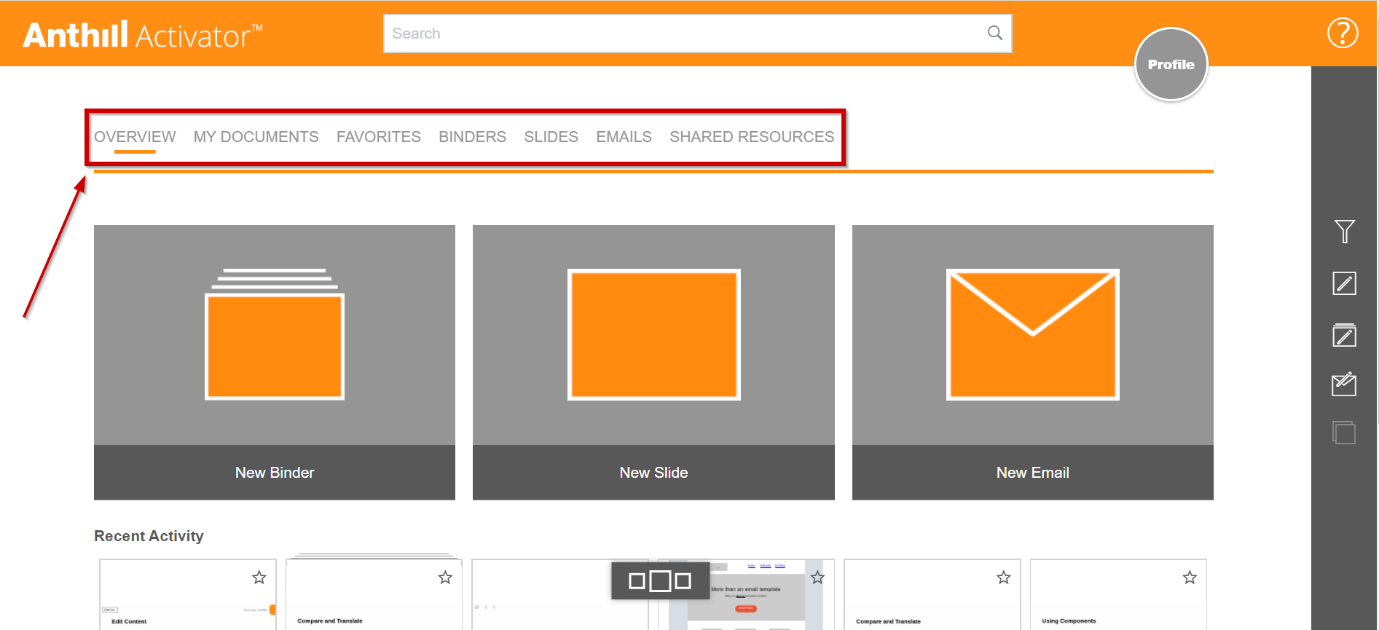
Step 2: Once you are on one of the overview menus, simply drag and drop the asset directly from your computer into Activator.

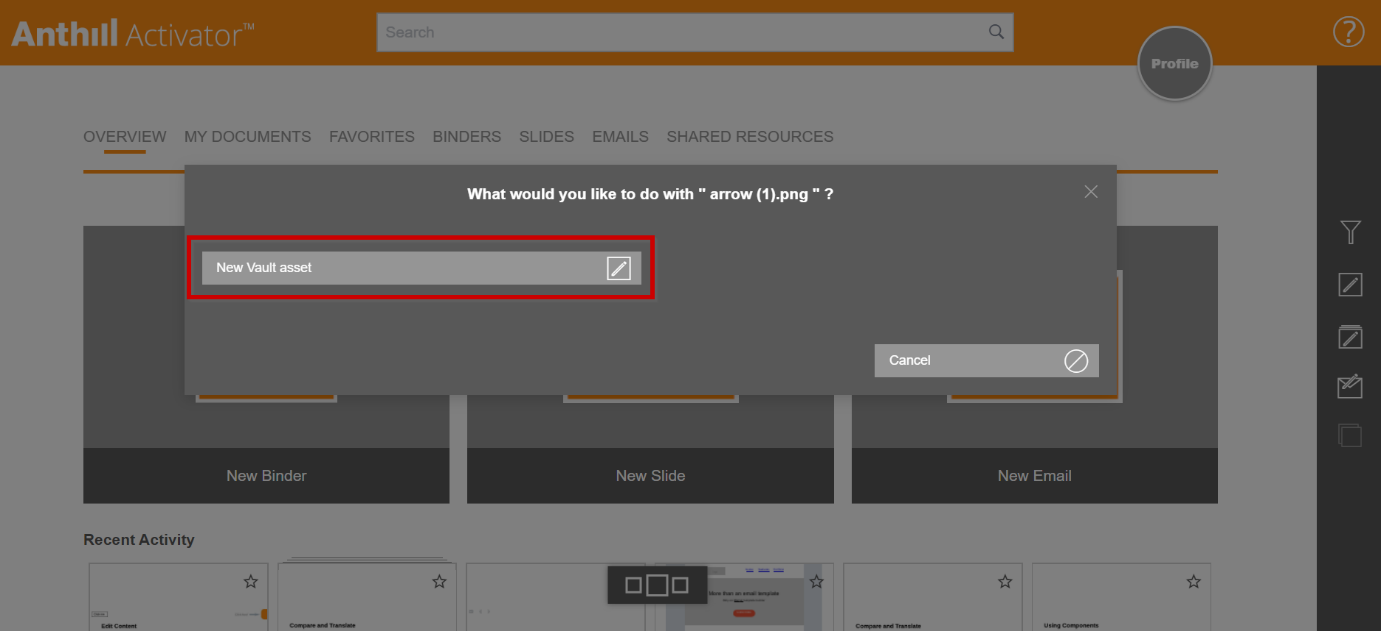
Step 3: Once you have dropped the file into Activator, you will be prompted with an option to create a New Vault asset for the file, simply click this option.
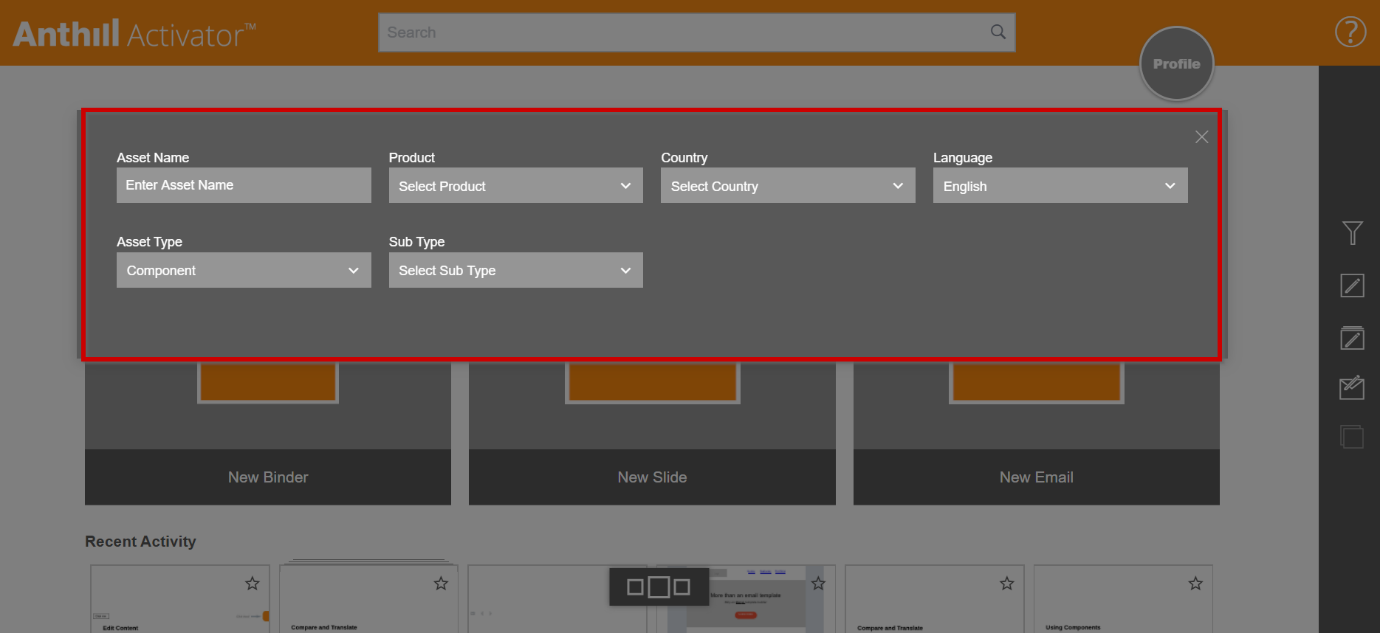
Step 4: You will now be prompted with a popup that requires you to fill out a bit of information for the asset to ensure it is easily searched for in the tool, and to ensure it is linked to the correct product and country.
Step 5: Once filled out, simply click the Create button and you are now done with uploading a whole new asset to use in your content.

How to add an image to a component
Another option is to add new assets directly into content, such as a slide in this example.
Step 1: Open up the slide for which you would like to add an asset and go to "edit mode" and select "Add Component" from the right-hand menu
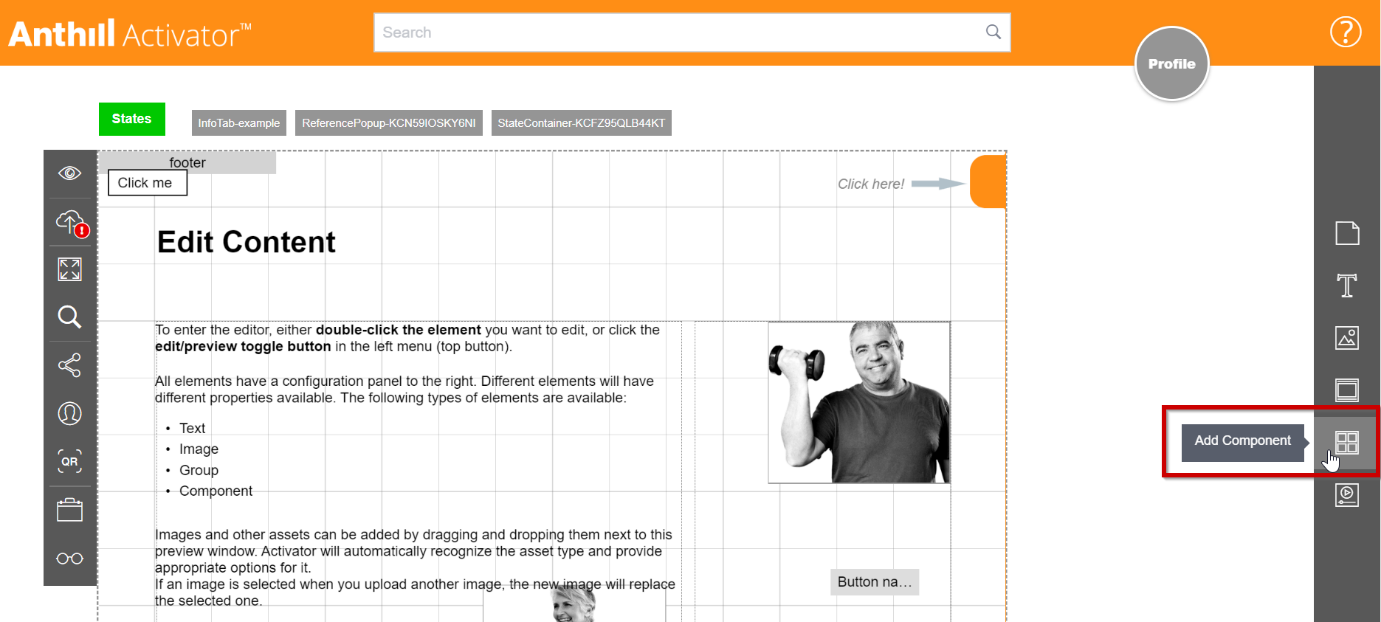
Step 2: Select the component that corresponds to the type of asset you have.: image, video, or audio.
Not all media types may be available for your project. In the example shown, audio is not an option

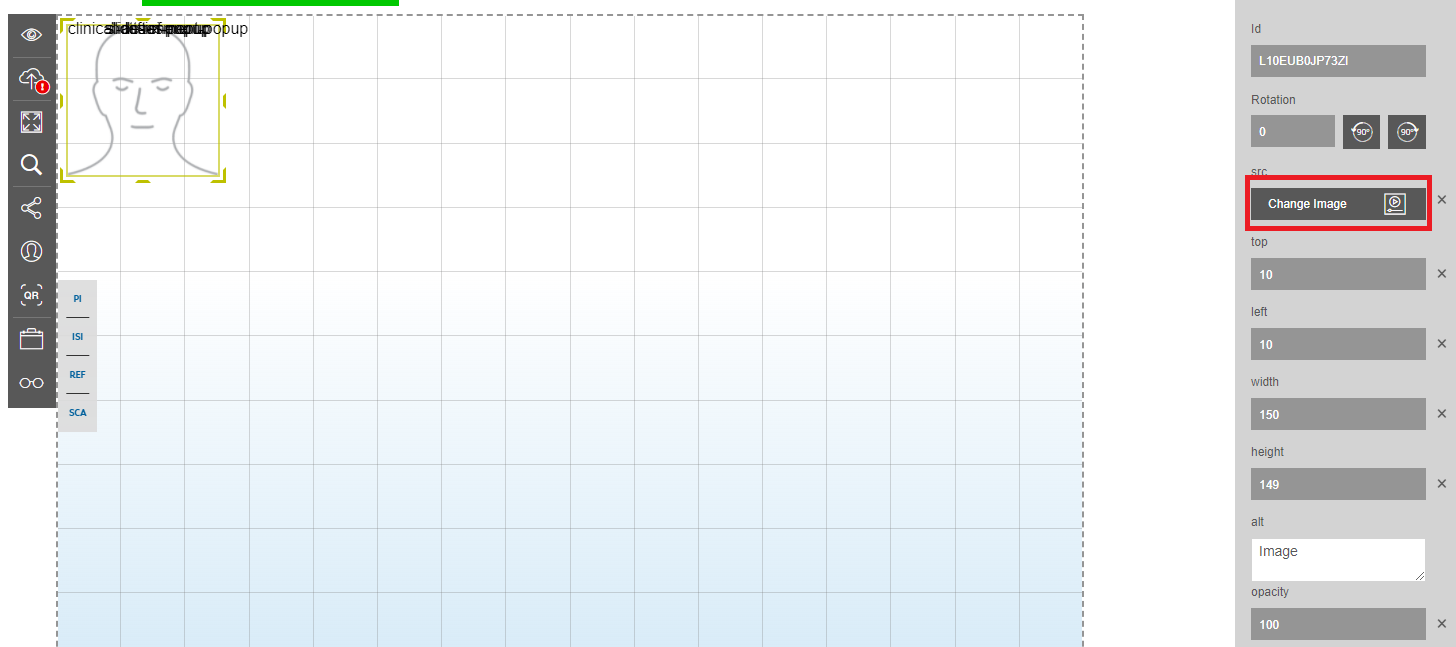
Step 3: This will place a container on your slide. With the container highlighted, you can now select "Change Image"

Step 4: From this window, you can either drag and drop your asset, in this case, an image, into the window or click to browse your computer for the file.
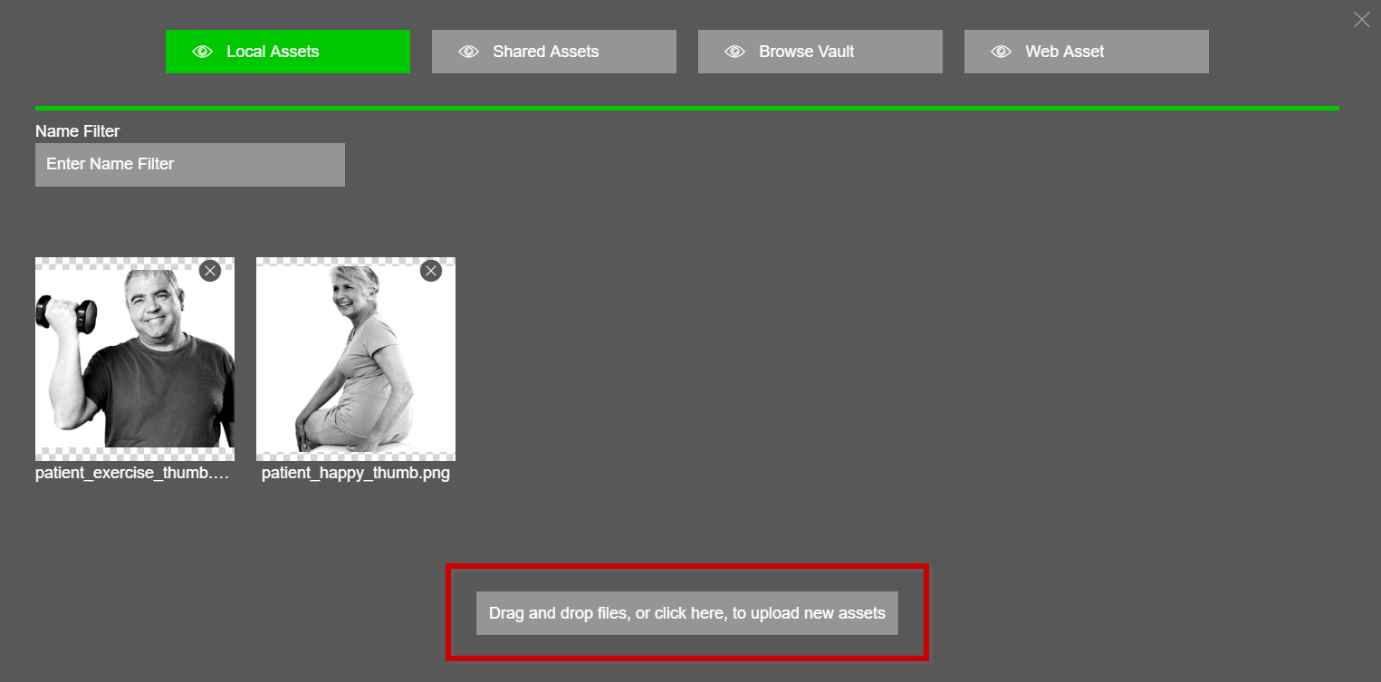
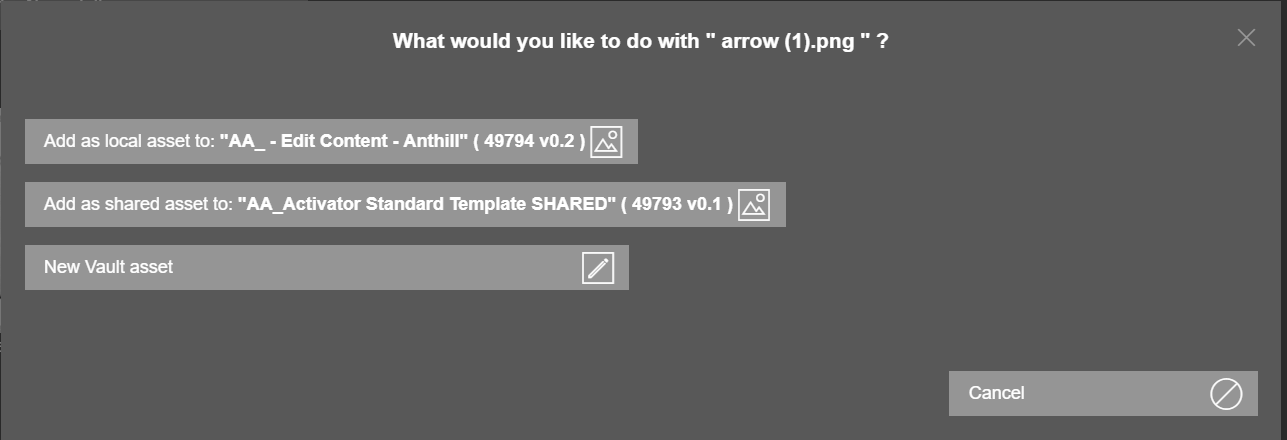
Step 5: You will now be prompted with a similar popup as before, but this time you will have a few more options. Either to add the asset as a Local asset, as a Shared asset, or as a new Vault asset. The procedure is the same as before, this time it?s simply more specific to the project at hand for the slide you currently have selected.
As a local asset: Local assets refer to an image, video, or other materials that are used only in that slide.
As a shared asset: Shared assets refer to an image, video, or other material which is stored in a shared document. It can be used for more than one slide if the shared document is linked to it.
As a new Vault asset: Vault assets refer to an image, video, or other material which is stored as a component in Vault. It can be used in emails or slides.
Again, the options you have below may vary from company to company
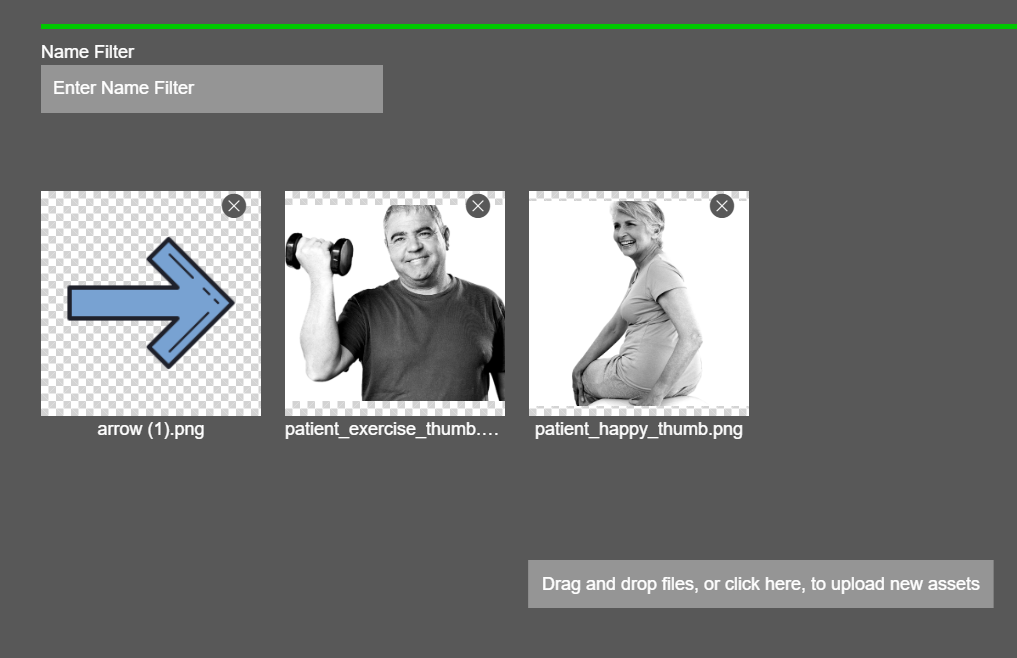
The new asset will now be available to you
How to change an existing image
Step 1: Find your document from the Dashboard or in the Search
Step 2: Double click on your document
Step 3: Mark the image component in the editor, click “Change image” and pick another image from the media gallery
